Developer Portal Setup
Follow these steps to set up your developer account and create OAuth clients for the Kryptos Connect API.
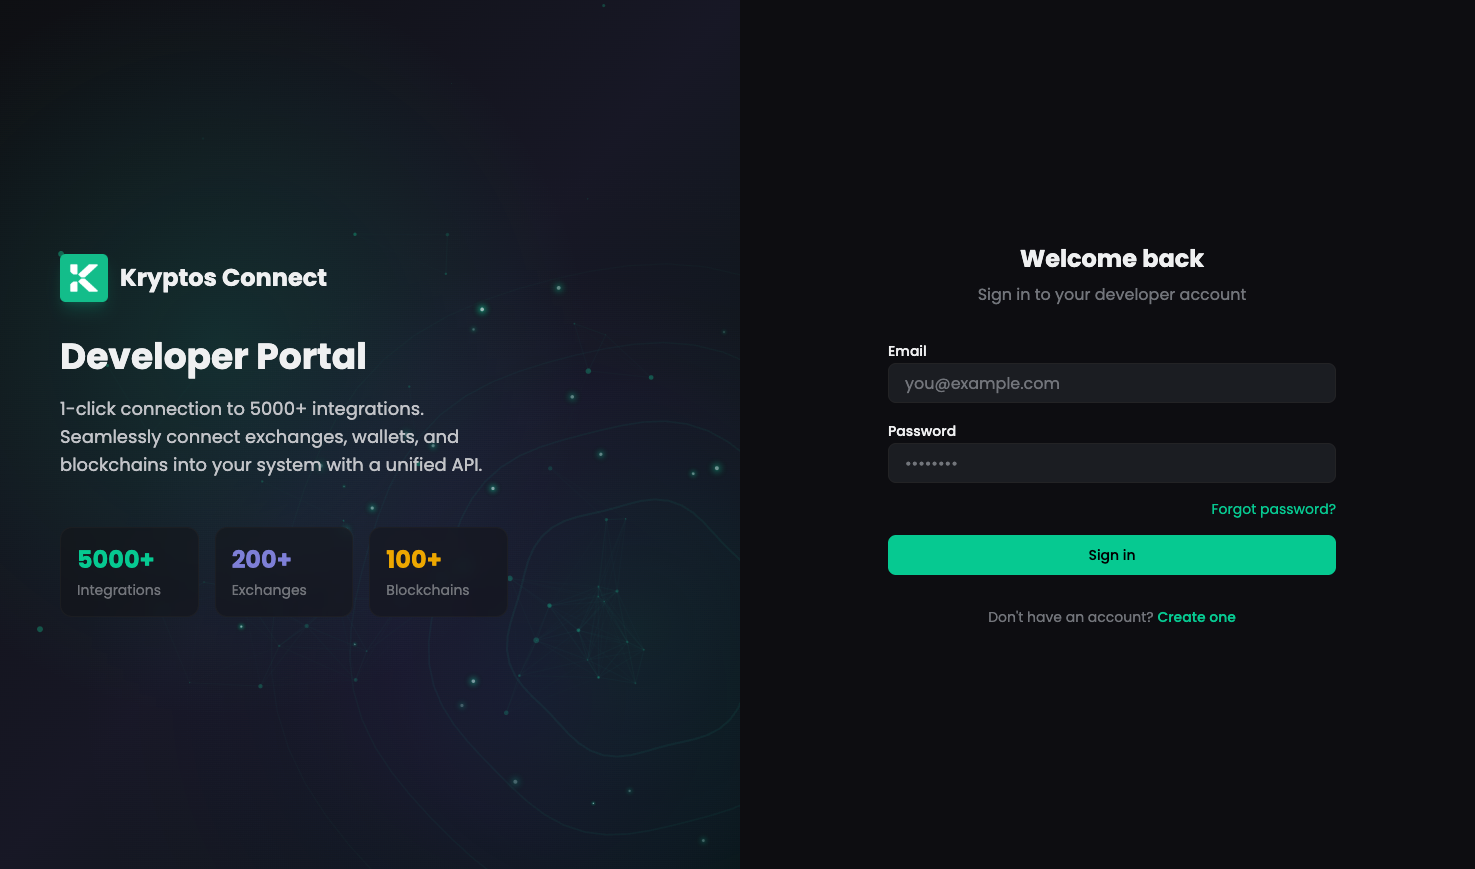
Step 1: Sign Up on the Developer Portal
Visit the Kryptos Developer Portal and sign up or log in with your account.
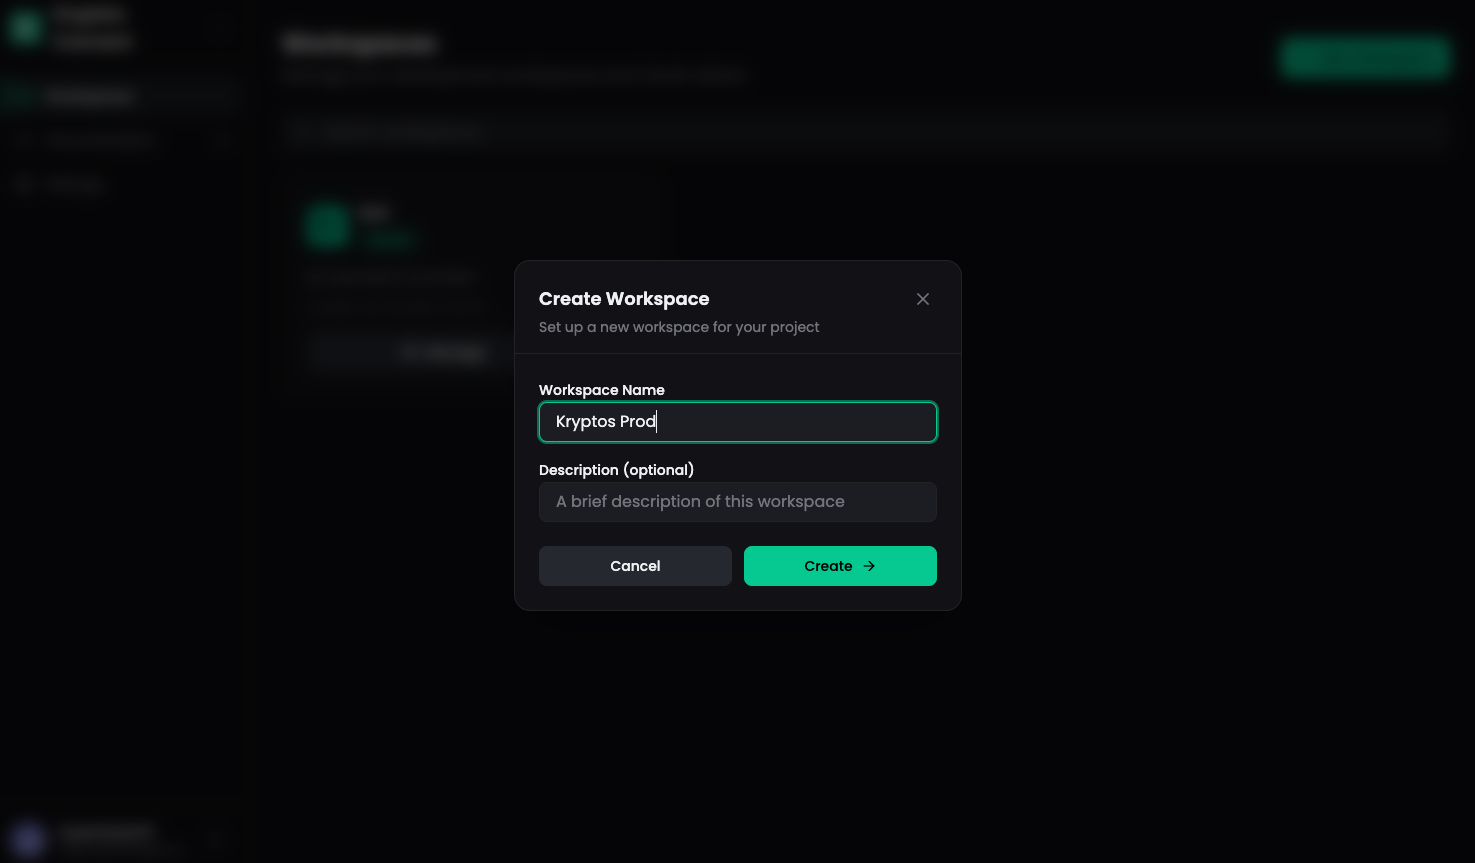
Step 2: Create a Workspace
After logging in, create a new workspace for your application. Workspaces help you organize your OAuth clients and API access.
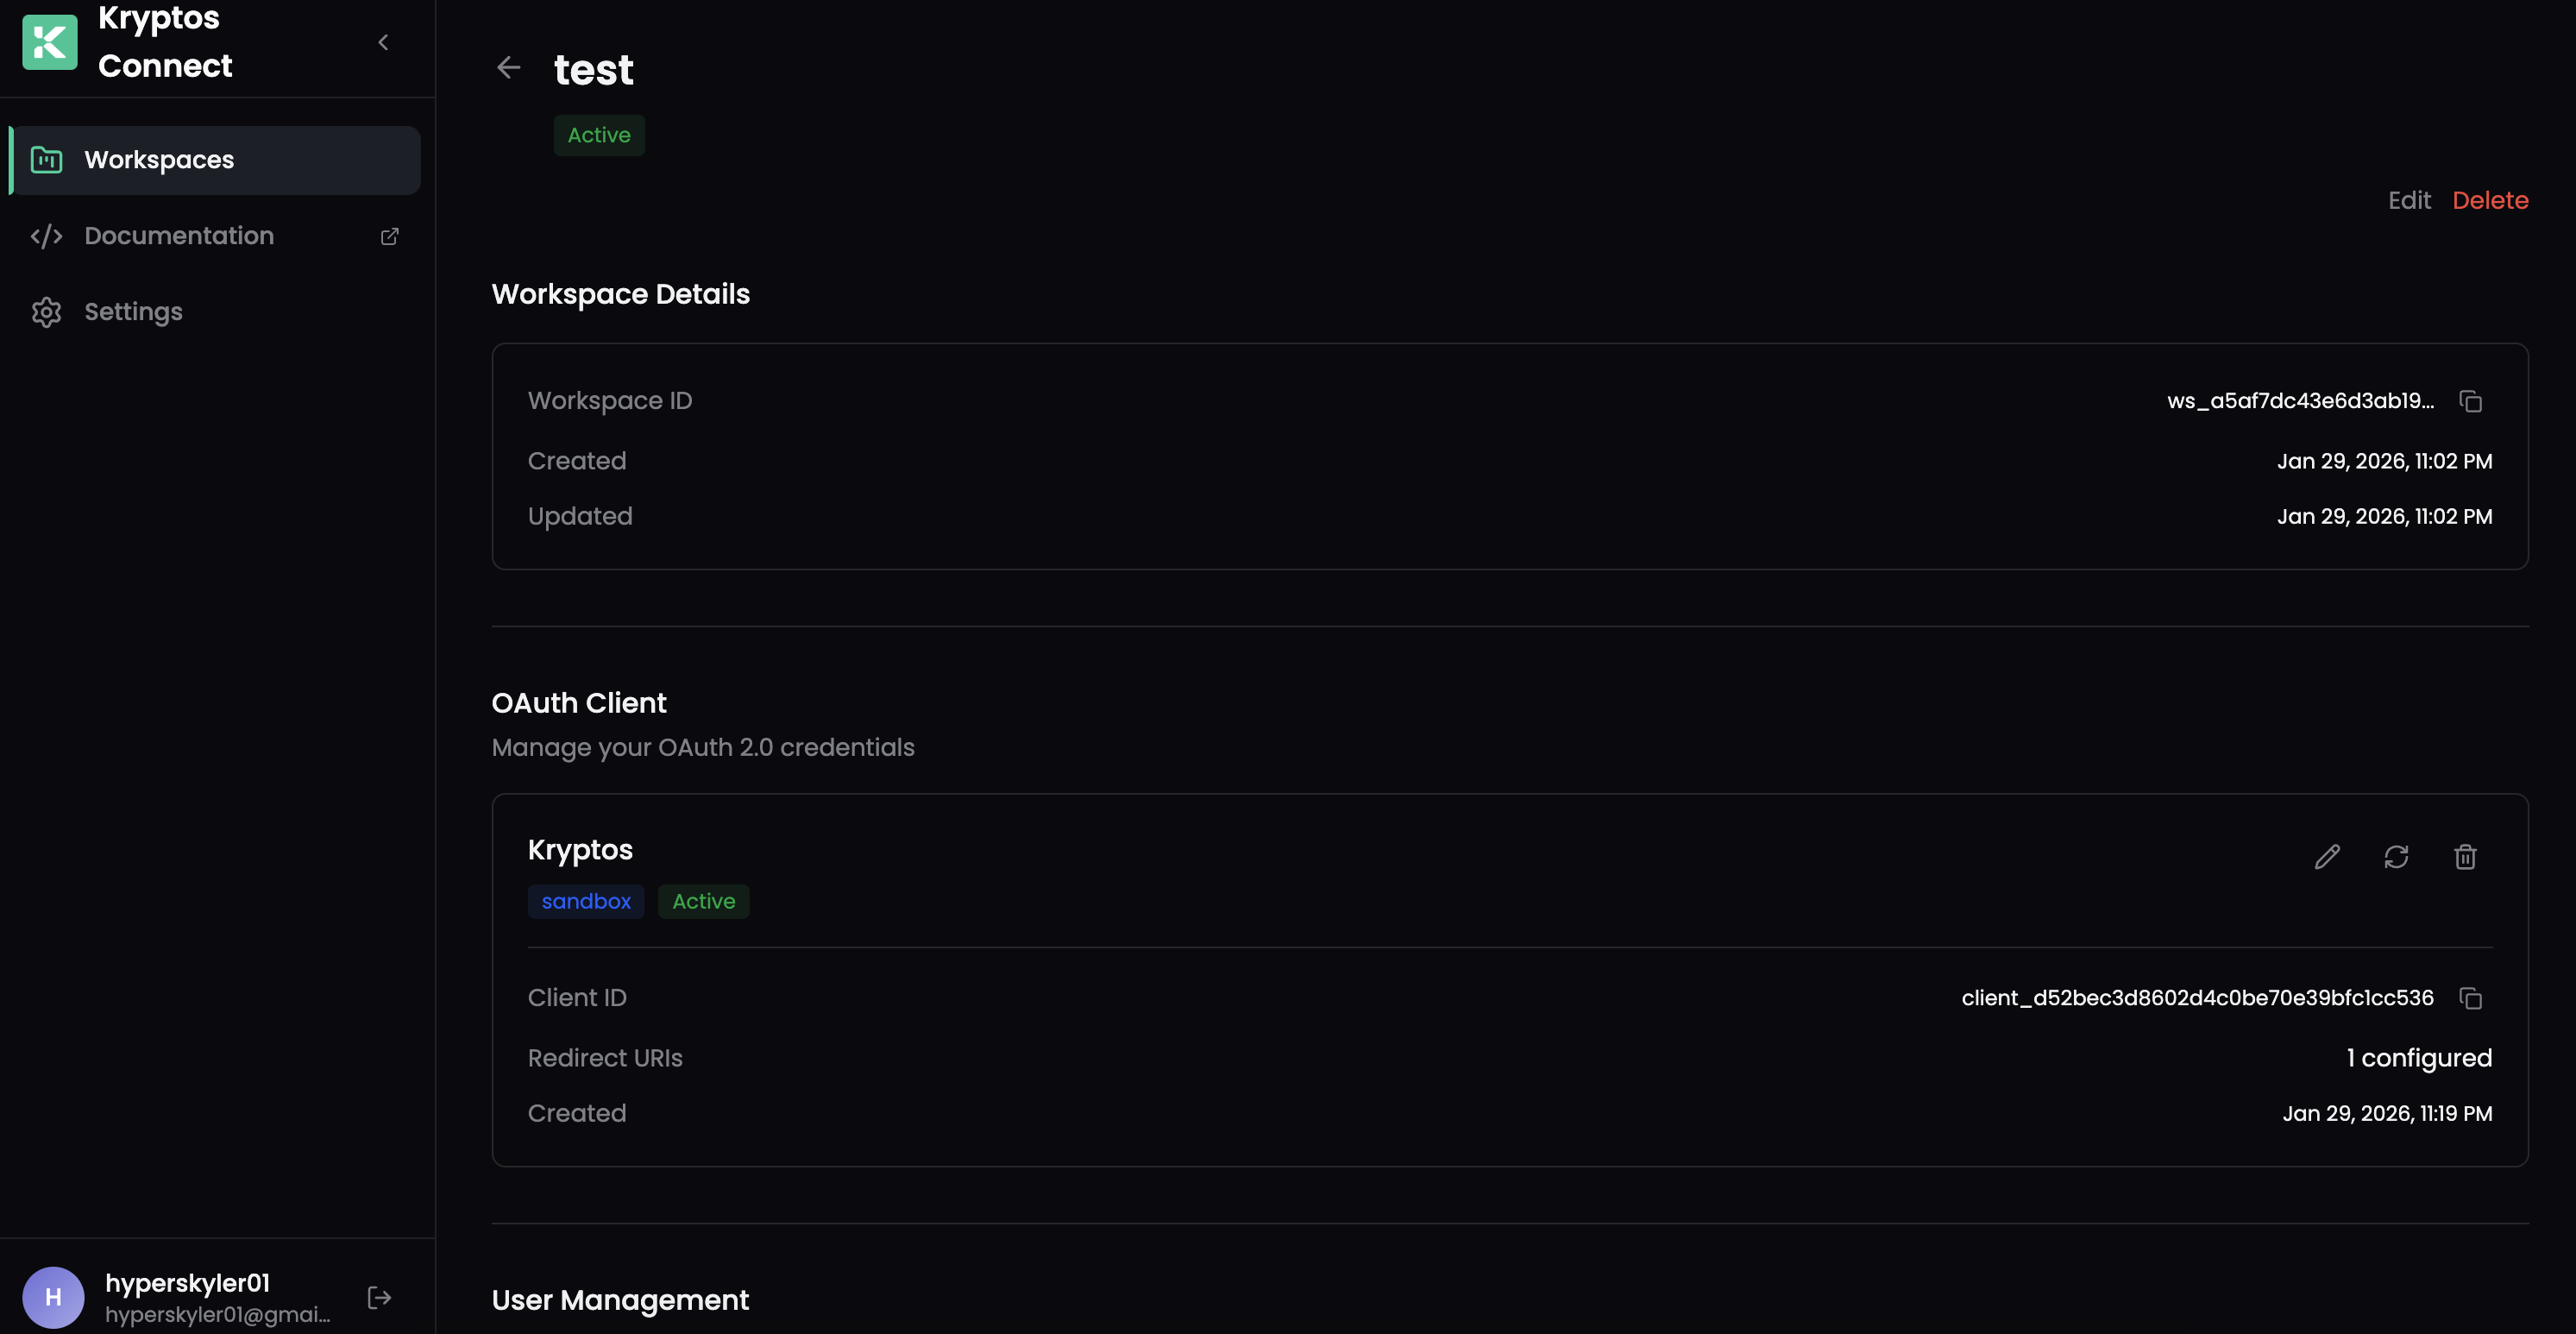
Step 3: Access Workspace Details
Navigate inside your workspace to view the dashboard and available options. Here you can manage your clients, view usage statistics, and configure settings.
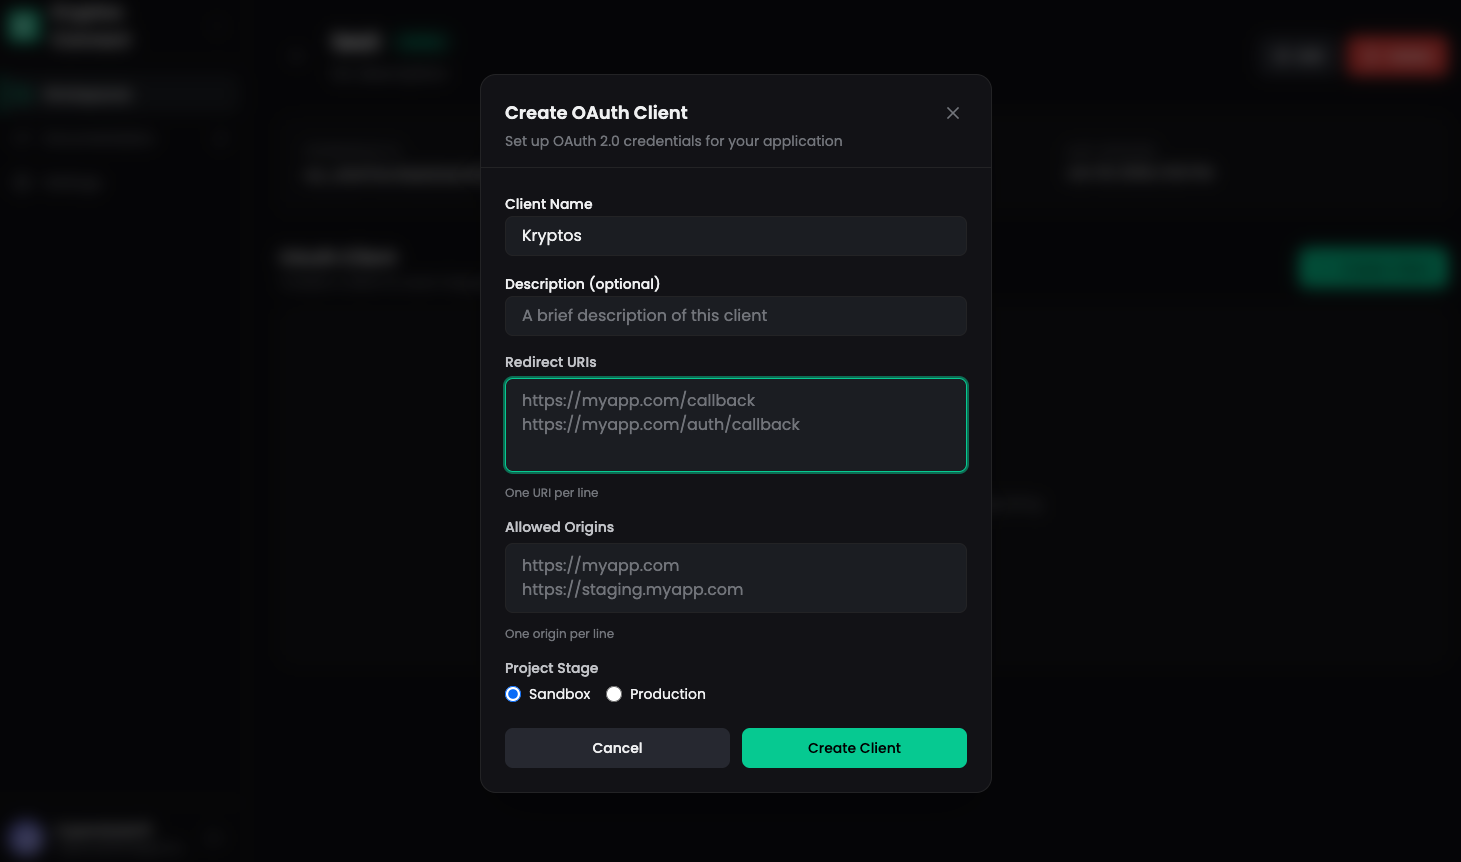
Step 4: Create an OAuth Client
Click on Create Client to register a new OAuth application. Fill in the required details:
- Client Name - A descriptive name for your application
- Redirect URIs - The callback URLs where users will be redirected after authorization
- Scopes - The permissions your application needs
Default Client Scopes
When you create a new client, the following scopes are assigned by default:
openid profile offline_access email portfolios:read transactions:read
integrations:read tax:read accounting:read reports:read workspace:read users:read
Default Scopes Explained:
| Scope | Description |
|---|---|
openid | Required for OpenID Connect authentication |
profile | User profile information (name, language, transaction_limit) |
offline_access | Enable refresh tokens for continuous access |
email | User email address |
portfolios:read | Read portfolio holdings and balances |
transactions:read | Read transaction history |
integrations:read | Read connected wallets and exchanges |
tax:read | Read tax calculations and reports |
accounting:read | Read accounting ledger entries |
reports:read | Read generated reports and exports |
workspace:read | Read workspace settings and configuration |
users:read | Read user profile and preferences |
We will add more granular scope controls in the future, allowing you to request specific permissions for individual features and data types.
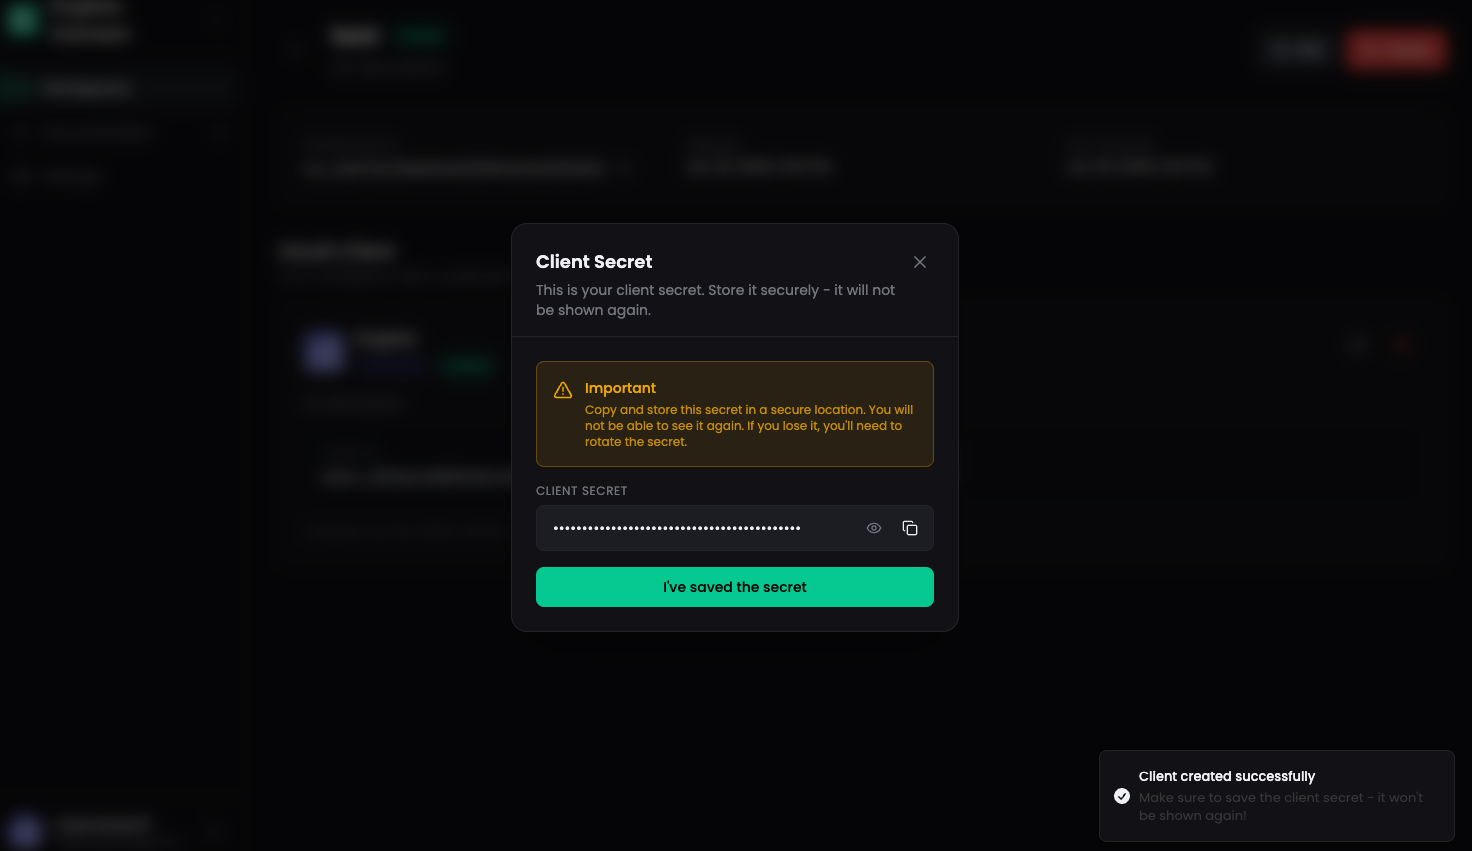
Step 5: Save Your Credentials
After creating the client, you'll receive your Client ID and Client Secret.
Save your Client Secret securely - it will only be shown once! Store it in a secure location like a password manager or environment variables.
Step 6: Configure Transaction Limits (Optional)
Cap how many transactions each user imports through your app — useful for free tiers, pilots, or trial flows. Configured on the Connected Accounts page in your workspace.
Connect distinguishes two grant types:
- Guest — accounts created on the fly inside your Connect flow. Limits apply.
- Linked — users who signed in with their existing Kryptos account. Limits don't apply because they own their account and manage their own volume across every app they connect to.
Workspace default — sets the limit for every new Guest user. Capped at 100,000. Click Edit on the Default Transaction Limit card.
Per-user override — raise or lower the cap for a single Guest grant. Expand the user's row and edit the Transaction Import Limit section. Overrides are not capped.
Resolution order: per-user override → workspace default → platform default (100,000, limiter on). The first defined value wins. Disabling the limiter at any level removes the cap for that scope.
You can also manage transaction limits via the API using your client credentials. See Update Transaction Limit in the backend guide.
Next Steps
Now that you have your OAuth credentials, you're ready to implement the authentication flow:
- OAuth 2.0 Authentication → - Learn how to implement the authorization code flow with PKCE
- API Key Authentication → - Alternative authentication for paid plans
Need Help?
If you encounter any issues during setup, contact our support team:
- Email: [email protected]
- Documentation: https://docs.kryptos.io